Steam for Linux Now in Open Beta

The Steam for Linux beta is now open to the public, meaning anyone and everyone can join. All that’s required is that you download/upgrade the latest Steam Linux client and you’re good to go. Currently around 39 games added to Linux list, expecting more games to be added in the coming weeks.

linuxsteam

Valve announced in July 2012 that they were developing a Steam client for Linux and modifying the Source engine to work on native Linux, based on the Ubuntu distribution. The team developing the Linux client had been working for a year prior to the announcement to validate that such a port would be possible. Initial internal beta testing of the Linux client started in October 2012, with an external beta testing occurring in early November. Not only will Valve’s Linux group focus on improving the Steam client but will assure that their selected first Source game, Left 4 Dead 2, will run at acceptable frame rates and connectivity with the Windows and Mac OS X versions.

Check out the following useful links


Courtesy: Steam,  Wikipedia


Well explained Animated Ad for ‘Ubuntu for Android’

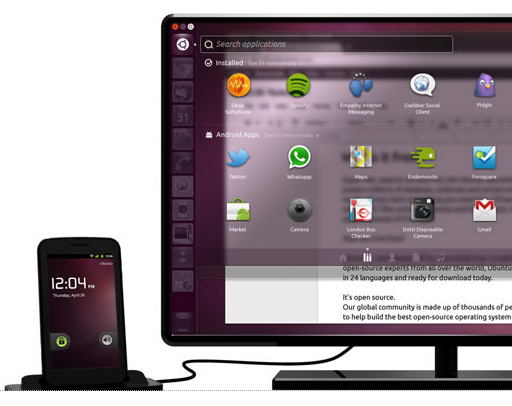
Ubuntu for Android is an upcoming free and open source variant of Ubuntu designed to run on Android phones. Recent animated ad on Ubuntu for Android explains its features, functionality and benefits.

Features

  • Both Ubuntu and Android run at the same time on the device, without emulation and without the need to reboot. This is possible because both Ubuntu and Android share the same kernel (Linux).
  • When the device is connected to a desktop monitor, it features a standard Ubuntu Desktop interface.
  • When the device is connected to a TV, the interface featured is the Ubuntu TV experience.
  • Ability to run standard Ubuntu Desktop applications, like Firefox, Thunderbird, VLC, etc.
  • Ability to run Android applications on the Ubuntu Desktop.
  • Make and receive calls and SMSs directly from the Desktop.

System requirements

  • According to Canonical a phone needs the following requirements:
  • Dual-core 1 GHz CPU
  • Video acceleration: shared kernel driver with associated X driver; OpenGL, ES/EGL
  • Storage: 2 GB for OS disk image
  • HDMI: video-out with secondary framebuffer device
  • USB host mode
  • 512 MB RAM

Courtesy: http://en.wikipedia.org/wiki/Ubuntu_for_Android
                   http://www.ubuntu.com/devices/android


How To Install Android 4.0 (ICS) On Your Netbook

Android 4.0 (Ice Cream Sandwich) is the latest version of the Android platform for phones, tablets, and more. Android-x86 gives everyone a way to install Android on Intel netbooks. Well I will also explain how to enable dual boot with Ubuntu.

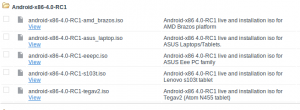
1. Head towards Androidx86 project page and download the Android 4.0 Ice Cream Sandwich. You might find couple of version, select the best one which suit your netbook. Well I prefer ‘android-x86-4.0-RC1-eeepc.iso’. Click on the file to download the iso file
2. Make your Live USB Drive bookable using UNetbootin. Well you can use other boot loaders as well. I prefer UNetbootin, as it supports all platform. Select the .iso file and make the Usb Drive bootable

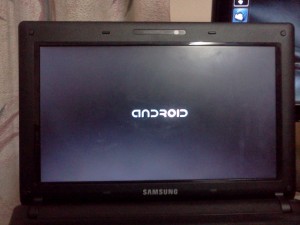
3. Now Insert the Usb Drive into your Netbook and start using Android 4.0. To get the feel of Android 4.o, you can try out the Live Android-x86. To install, follow the simple steps as prompted. Its recommended to create virtual SD Card.

However you wont be able to make your system dual bootable. Well, you can achieve it. Install Androidx86 to any of your logical drive.

1. Now boot into Ubuntu and open the Terminal and type ‘gksu gedit /etc/grub.d/40_custom’

2. Which will open a text window. At the bottom, add the following line.


menuentry "Android-x86"
{
   set root='(hd0,0)'
   linux /android-4.0-RC1/kernel quiet
   root=/dev/ram0
   androidboot.hardware=eeepc
   acpi_sleep=s3_bios,
   s3_mode SRC=/android-4.0-RC1 SDCARD=/data/sdcard.img
   initrd /android-4.0-RC1/initrd.img
}

Note: * If you didn’t create virtual sdcard, remove the “SDCARD=/data/sdcard.img” part from the 3rd line (make sure you don’t remove anything else!) * The above menu entry uses “eeepc” for androidboot.hardware, but you can replace it with your hardware, depending on the ISO you have downloaded.

3. Find which partion you installed Androidx86. use the following command to find the value ‘sudo fdisk -l’
so if you’ve installed Android x86 on let’s say “sda5”, you’d use “(hd0,5)”. Update the set root value.
4. Now make the file executable and update the GRUB

sudo chmod +x /etc/grub.d/40_custom
sudo update-grub

5. That’s it, there you go. Press shift key before the GRUB loads to select Androidx86
I’m sure its possible to make dual boot with Android and Windows. Do share with me, if you have the answer.
Special Thanks to makeuseof and webupd blogs

Skype For Linux Loses Beta Tag, Gets 4.0

Skype 4.0 for Linux, codenamed ‘Four Rooms for Improvement,’ which is now available for Linux users. With this release, skype finally filled the gap with our other desktop clients. With this release Skype will likely hope that rumours of the applications demise on Linux are finally put to rest.

You will find four major changes in this release:

  1. New Conversations View where users can easily track all of their chats in a unified window. Those users who prefer the old view can disable this in the Chat options.
  2. Brand new Call View.
  3. Improved Call quality and video quality.
  4. Additional Web Cam support
  5. Improved Chat synchronization
  6. Tabbed Conversations
  7. New status icons and emotions
  8. support for new languages
  9. after all its looks fabulous (personally its much better than Windows and Mac Desktop client)

Skype for Linux 4.0 can be downloaded from the official Skype website.

How To Upgrade From Ubuntu 11.10 To Ubuntu 12.04

The latest version of Ubuntu 12.04 is out few hours back. If its a fresh installtion, you can download from Ubuntu Site or download from here

To upgrade from ubuntu 11.10 to ubuntu 12.04, follow the procedure

1. To start the upgrading process, Press ALT+F2, type update-manager –d and press Enter
Note: You can also you Terminal for the same.

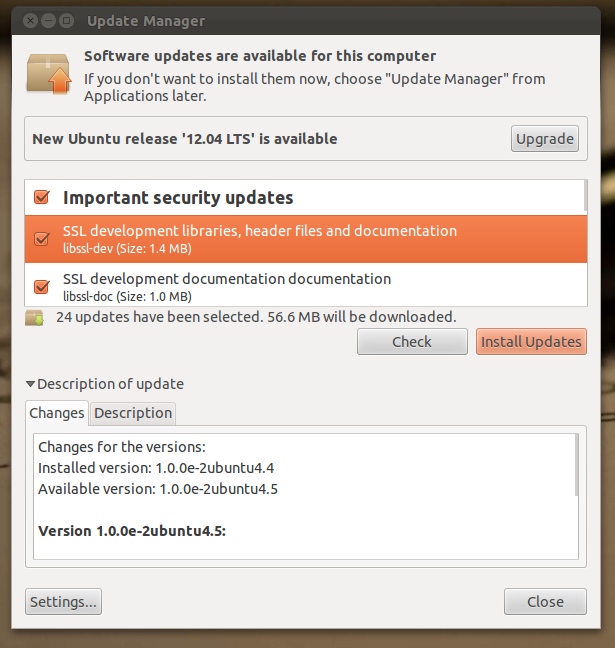
2. This will open the Update Manager where an upgrade button will be visible with a message that the new Ubuntu release is available for upgrade. Click Upgrade to continue.


3. Shortly after continuing, Release Notes window will be visible. Click Upgrade to initiate the upgrade process.


4. Just before the upgrade, you will be asked to enter your password, after which the upgrade process will initiate.

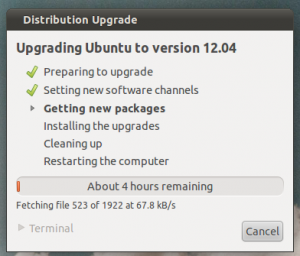
5. During the process, it will list out install files, no longer needed files, no longer supported by canonical files, Remove files and upgrade files. Click Start Upgrade to continue. Update will take time depending upon your internet connection speed.


6. Once the the upgrade is complete, you will be prompted to restart your computer for the changes to take effect.That’s it you have successfully completed the process.

Geekphilip tips:
1. Make sure, you take backup of your files
2. You can cancel the download, any time you like. When you try again, it will resume from the same location.
3. Make sure, you don’t halt the upgrade process once the installation process begins.

Introducing the HUD to Ubuntu

Mark Shuttleworth, founder of Canonical Ubuntu Linux’s parent company, has announced that Ubuntu will be adopting a radical new change to the interface that will do away with the “menu” in the Windows, Icons, Menus, Pointer (WIMP) interface, which has defined the desktop for the last thirty years. Shuttleworth states, “The menu has been a central part of the GUI since Xerox PARC invented ‘em in the 70?s. It’s the M in WIMP and has been there, essentially unchanged, for 30 years. We can do much better!” This new interface, which will first appear as a beta in April’s Ubuntu 12.04 release, is called Head-Up Display.

Head-Up Display, or HUD, which will ultimately replace menus in Unity applications. Here’s what you’ll see in 12.04 when you invoke the HUD from any standard Ubuntu app that supports the global menu:

Menus serve two purposes. They act as a standard way to invoke commands which are too infrequently used to warrant a dedicated piece of UI real-estate, like a toolbar button, and they serve as a map of the app’s functionality, almost like a table of contents that one can scan to get a feel for ‘what the app does’. It’s command invocation that we think can be improved upon, and that’s where we are focusing our design exploration. HUD seems to be very promising, lets wait and see.

For more information check out Mark Shuttleworth’s blog

Preview Any Kind Of File In Ubuntu 11.10 With Globus Preview

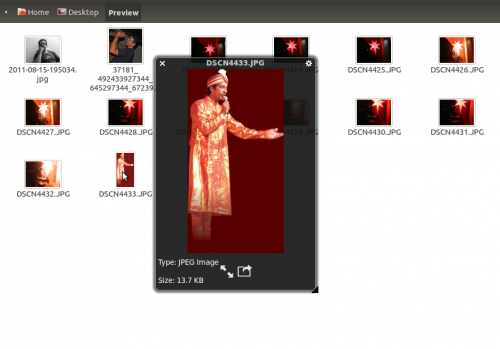
Gloobus-Preview is a Nautilus extension to get preview of audio, video, images, documents, code and text files. This enables sorting out junk files within numerous directories and opening different kinds of file types (such as pictures, music, video, code files etc), without requiring multiple applications to be installed on your computer.

To Install:
sudo add-apt-repository ppa:gloobus-dev/gloobus-preview
sudo apt-get update
sudo apt-get upgrade
sudo apt-get install gloobus-preview
sudo apt-get install gloobus-preview gloobus-sushi

Globus Preview
Globus Preview

To Use:
Once installed, click any file and hit Space key to get an instant preview. You can open full-screen view by using the full-screen mode button present at the bottom of the screen. To exit full screen mode, hit ESC. The file preview window contains a Cog icon located at the top right corner, which provides access to preview settings. These settings enable users to keep the preview window on top, close the window and to use a GTK theme for file preview.

Unity Youtube Search Engine and Player for Ubuntu

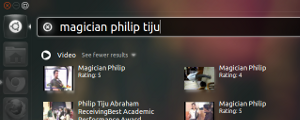
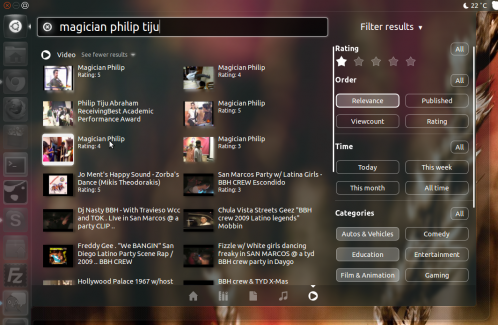
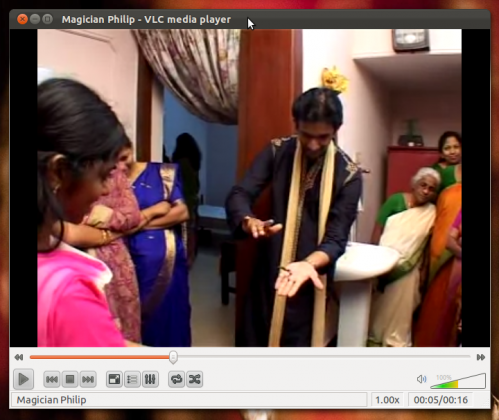
Now Search and play YouTube videos on Ubuntu with other lens. Searching and playing youtube videos on your computer is as easy as snapping your finger. The search results can then be ordered based on relevance, date published, number of views and overall rating. Once you click on the video, the video will be played back to you on your VLC Player.

To install execute the following scripts:
sudo add-apt-repository ppa:atareao/lenses
sudo apt-get update
sudo apt-get install lens-video scope-youtube

Once executed, you will need to log out and back in before you can use them. Open the Dash and click on the ‘Video Lens’ icon positioned towards the bottom of the screen.

unity youtube lens
Unity Youtube Search

To view the video you need VLC Player. Make sure you have the player.

youtube vlc player
Youtube Video on VLC Player

That’s it, Enjoy.

Unity Dash-based Calculator for Ubuntu

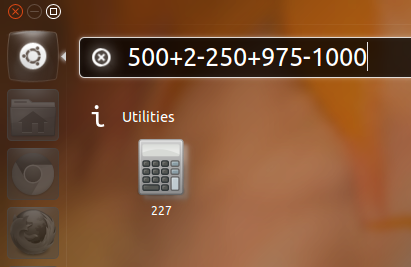
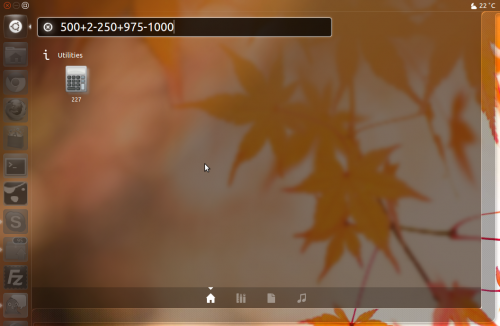
Unity Scope Calculator is the scope for Unity utilities lens that allows you to perform simple mathematical calculations directly from your Ubuntu Unity dash. It aims to provide you with a fast and convenient way to do simple mathematical operations  without leaving your desktop.

Unity Dash-based Calculator for Ubuntu

This scope uses the GCalctool which is the default calculator application installed in Ubuntu. Unity Scope Calculator uses basic mathematical operators such as ‘+’, ‘-’ , ‘/’ , ‘*’ , ‘%’ , ‘pi’ , ‘sin’ ,’cos’  , ‘tan’  etc. The results of the mathematical operations are instantly displayed in the Unity Dash.

To install, open terminal and execute the following commands:

sudo add-apt-repository ppa:scopes-packagers/ppa
sudo apt-get update
sudo apt-get install unity-lens-utilities unity-scope-calculator

Once installation is complete, make sure you log out and get back.

Ubuntu Heading to TVs, Smartphones and Tablets

Mark Shuttleworth, founder of Canonical, the company behind Ubuntu Linux, announced at the Ubuntu Developer Summit in Orlando, FL, that they will be taking Ubuntu Linux to smartphones, tablets, and smart TVs.

Shuttleworth said, “This is a natural expansion of our idea as Ubuntu as Linux for human beings. As people have moved from desktop to new form factors for computing, it’s important for us to reach out to out community on these platforms. So, we’ll embrace the challenge of how to use Ubuntu on smartphones, tablets and smart-screens.”

For more info. check zdnet